|
Wood? On a ceiling?!
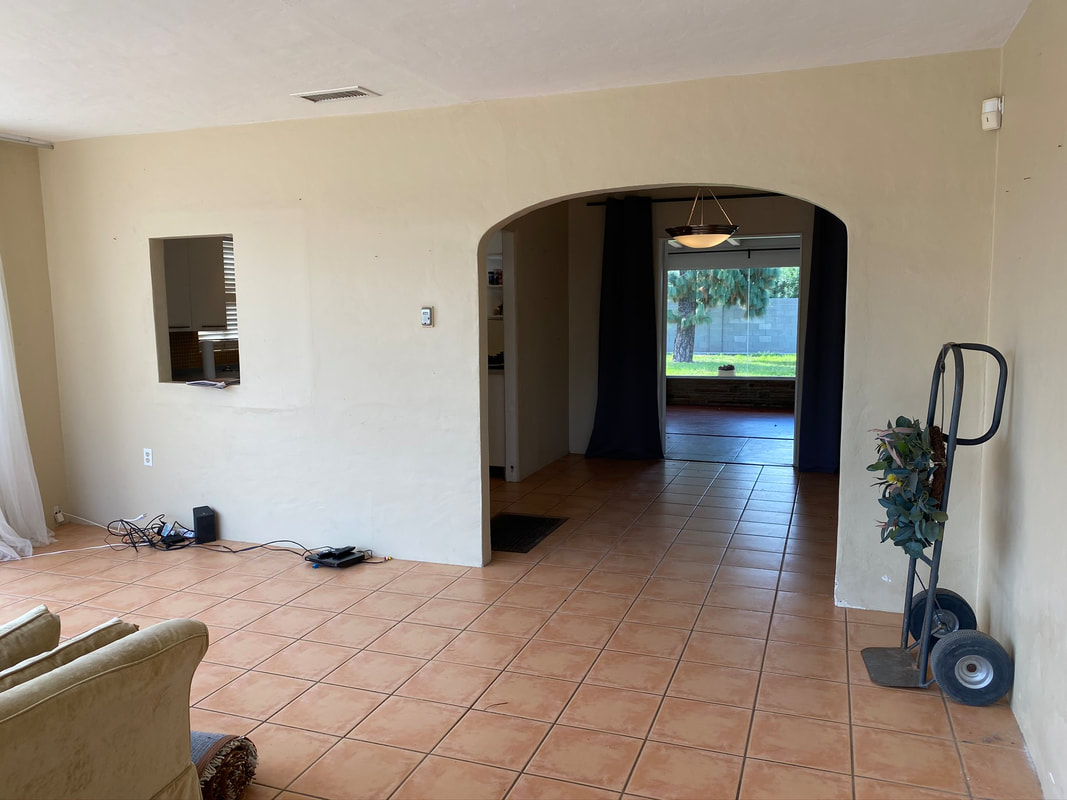
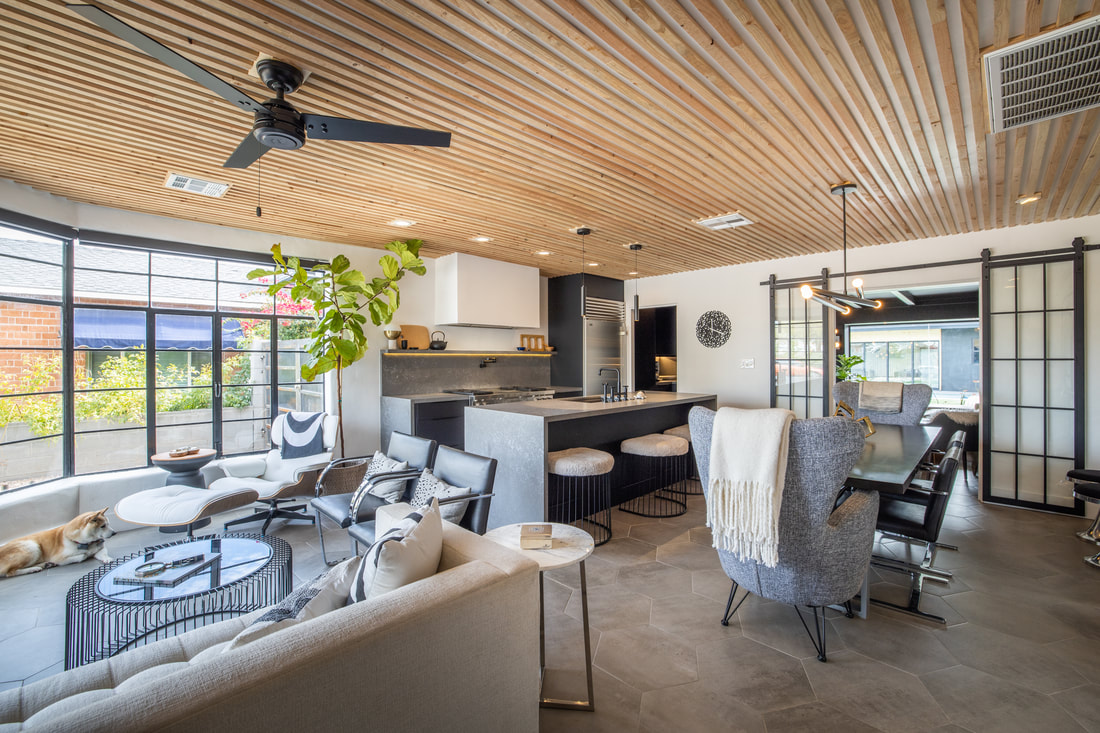
It might seem like a weird combination, but as you can see in my very own Phoenix Ashland Place Historic District home, it creates an amazingly unique appearance. I’ve used the wood slatted detail design for years on projects, but I’ve always used it vertically, usually on exteriors to create the look of screens, add privacy or add visual interest. For my house, I was looking for a way to unify the home and bring together the parts of the home that were built at different periods, so that everything flowed together. The wood achieved that and made a notice-me impact. It also added warmth throughout the home, which I adore. Flat ceilings can be overlooked, but using this wood detail look can really transform them and give them texture and character. Take it from me – here’s how to do it. 1. Buy 1” x 2” x 8’ Furring Strips
Furring strips are thin, long strips of wood that you can typically get from any home improvement or hardware store. They aren’t typically used for decoration, but rather construction. As you’ll see, they aren’t a very refined product, but they do the trick to create a wood ceiling look.
Head to your local construction or home improvement store to buy them. They’re usually sold in bundles. As you’ll see from the next step, you’ll want to use the best ones, so purchase more than you think you’ll need to cover the ceiling area. 2. Choose the Best Strips
Next, sort through your bundles to choose the highest-quality furring strips. Look for the color you like (if you’ll be leaving the strips raw), plus smooth textures and straight strips. The good news is, you can usually return the ones you don’t use, so don’t be afraid to be picky!
3. Select a Spot on the Ceiling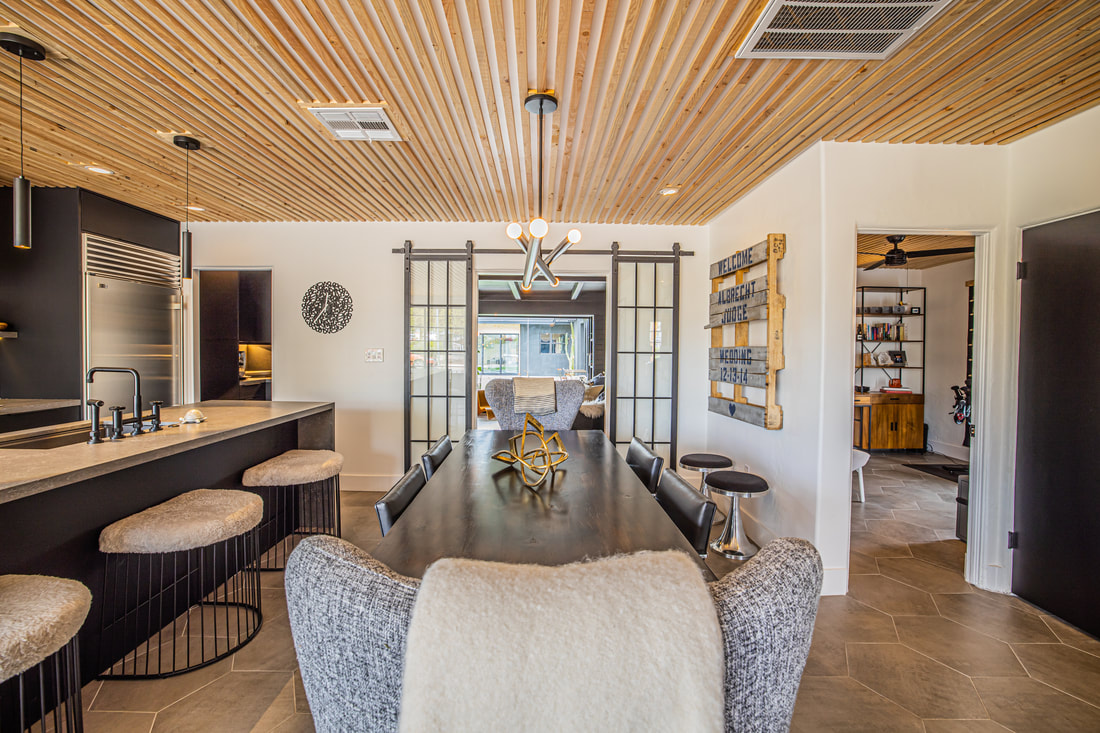
Look for an area on the ceiling to start that makes sense. Usually, you’ll want to start against the wall or near a ceiling object and work out from there. If you start in the middle of an empty space on the ceiling, you might mis-measure your placement and create a design that isn’t uniform. We don’t want that.
4. Determine the Placement
Draw pencil lines on the ceiling to guide you during the installation. It’s always better to plan and be prepared than to try to fix mistakes during the process. *wink*
5. Install the First Strip
Use furniture nails to attach the strip where it’ll meet the rafters. Be careful with your fingers as you install! You’re precious cargo here!
6. Space for Equal Installation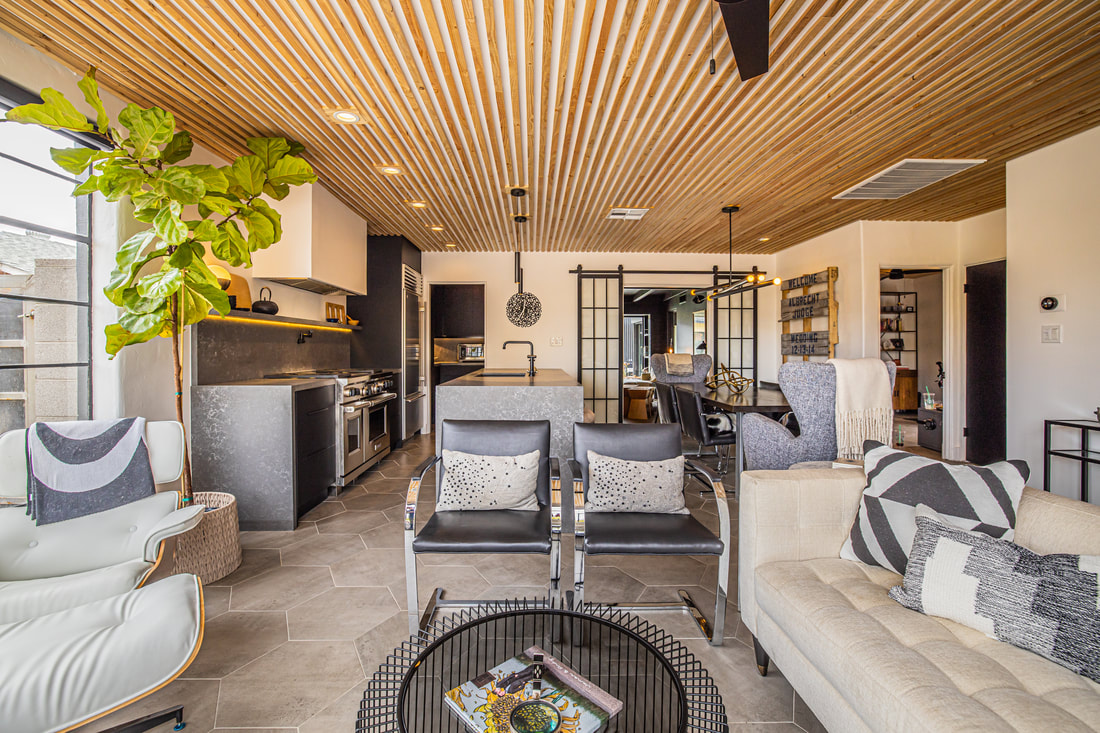
Use another furring strip as a spacer so that you install the strips equally. You’re going for a unified, polished look here.
7. Create Frames Where Needed
When you’re installing furring strips around lights, vents, etc., create a frame using the 1” x 2” x 8’s so that the strips connect equally. Check out the photo above to get an idea of what it should look like.
8. Choose the Finish
You can keep the furring strips raw, or you can paint them. You can go as natural or wild as you’d like with the color, depending on whatever type of look you’re going for.
Bonus Tip: Continue the Strips Down the Wall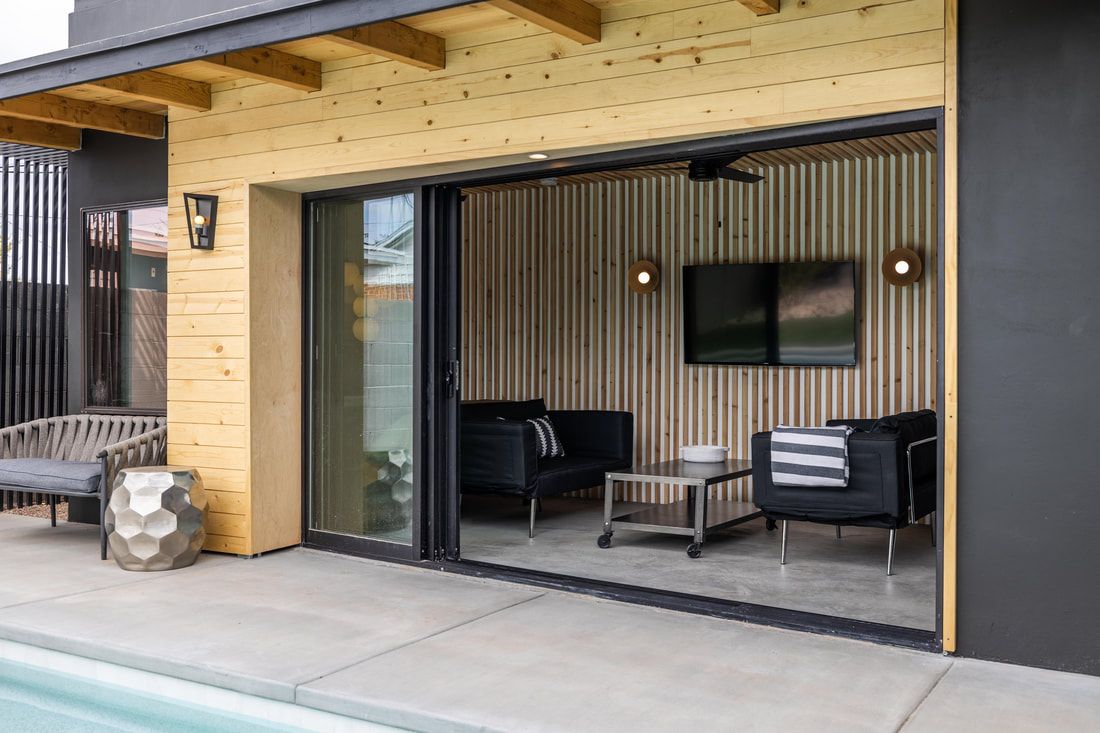
As you can see in my pool house, the new wood ceiling was such a big hit, I decided to keep a good thing going and continue the design all the way down along the wall.
I’d love to see your results when you try this wood furring strip technique in your own home. Tag me on Instagram @thehousejudge so I can see your creations!
1 Comment
8/21/2022 06:30:30 am
Great and very informative blog. Leave a Reply. |