Amazon Favorites 6/9/23
6/8/2023
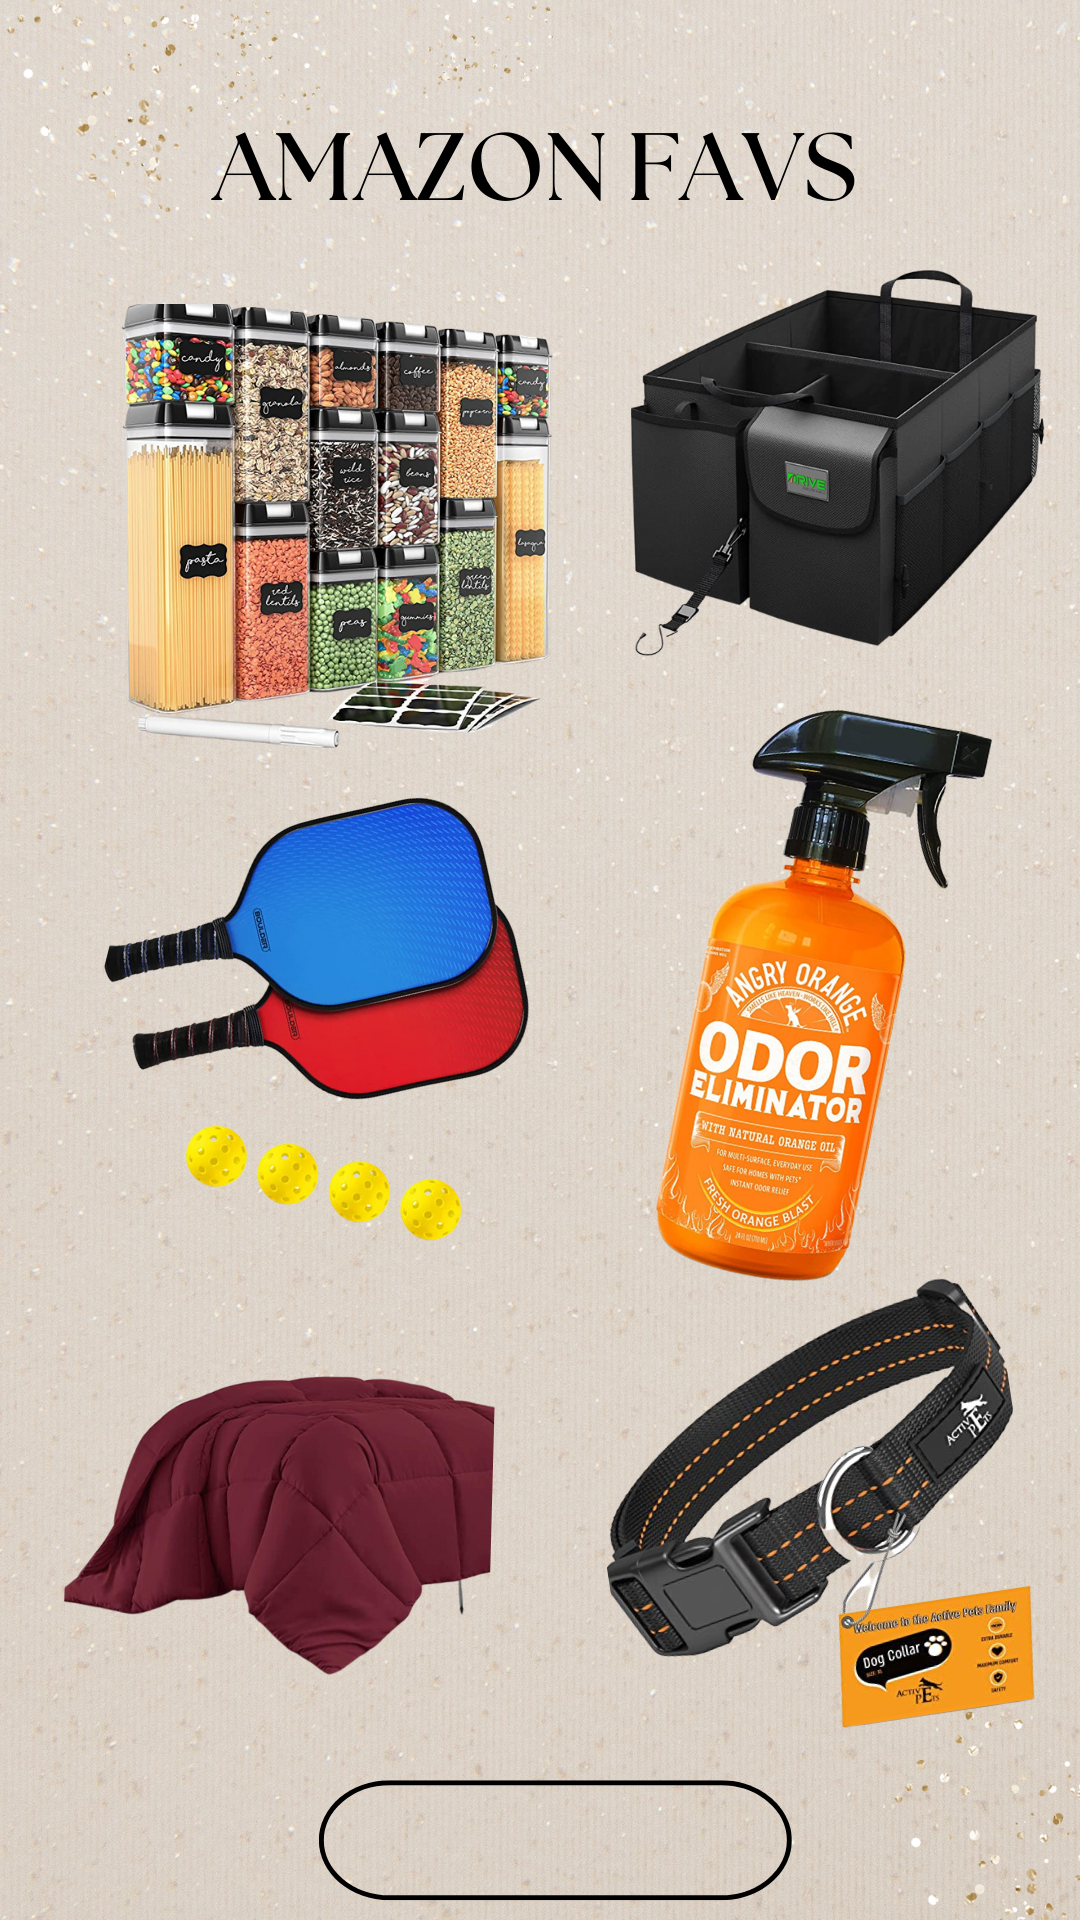
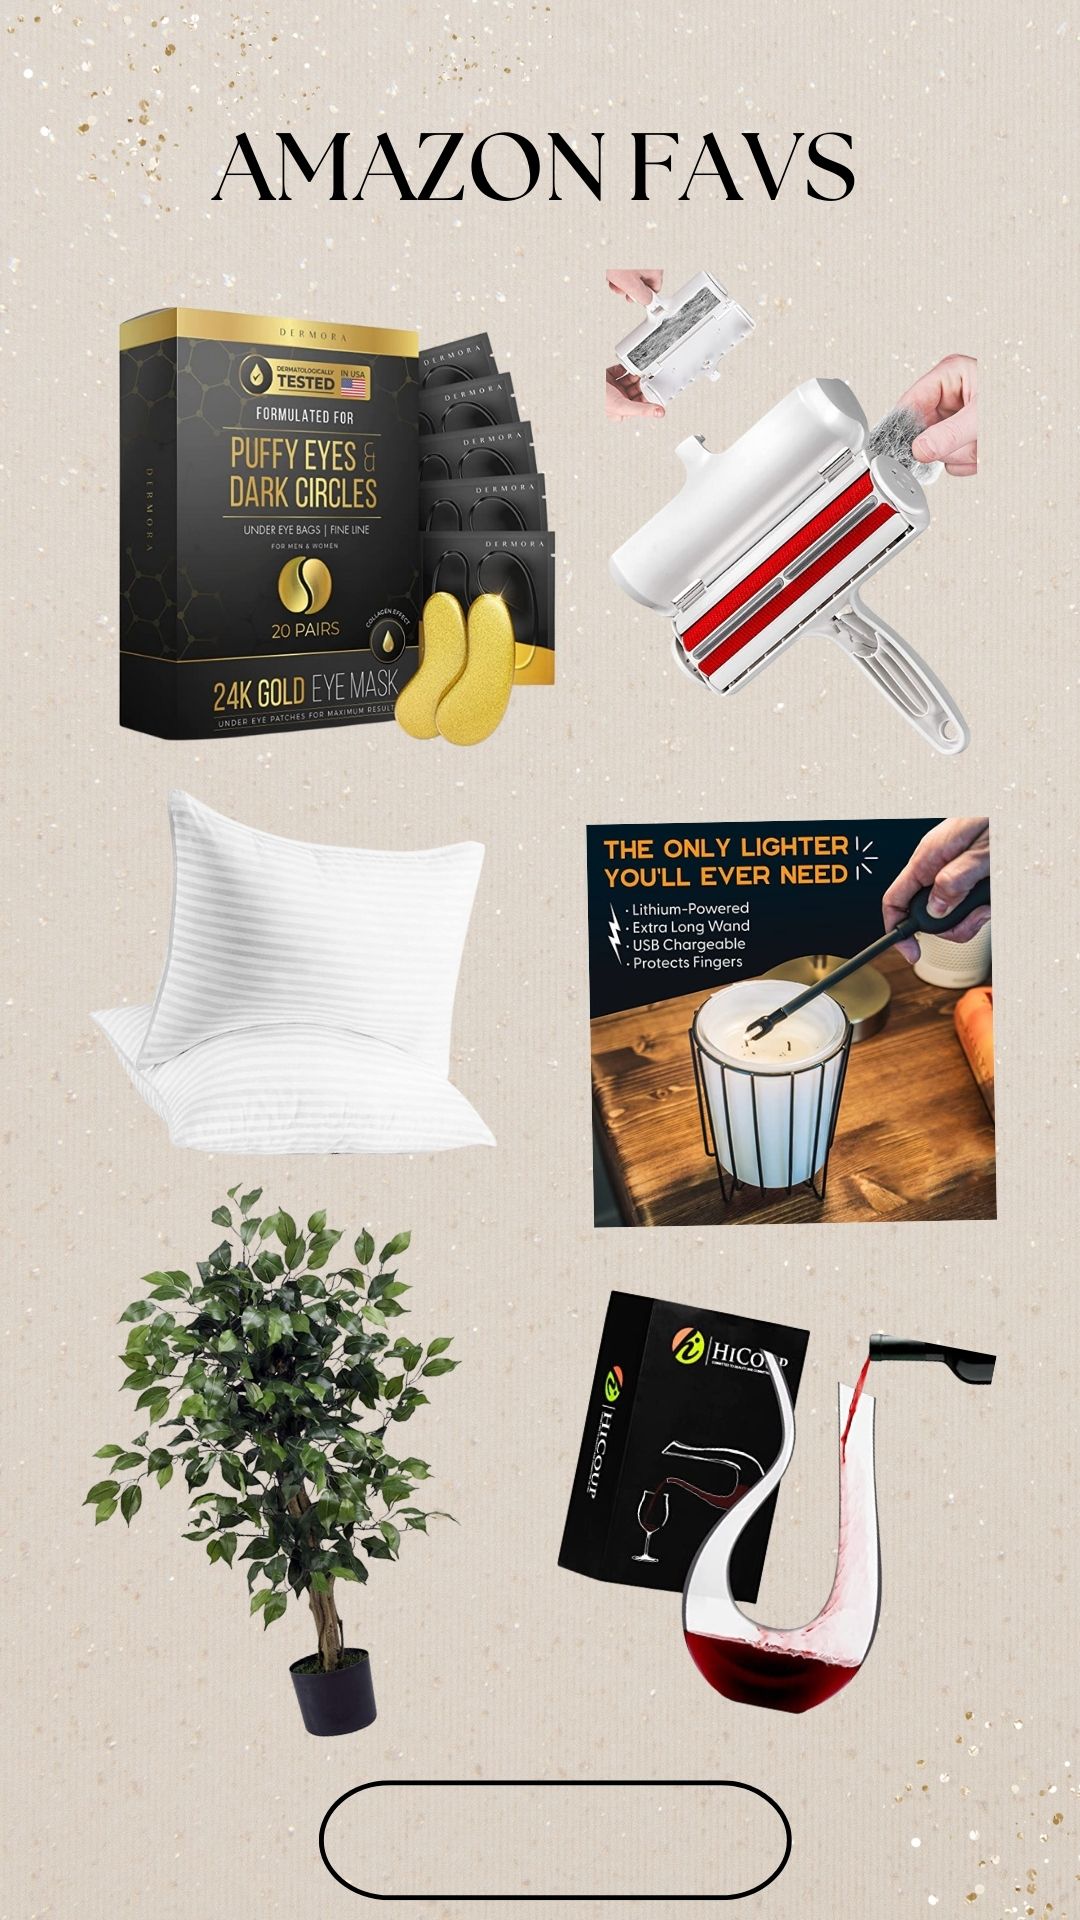
 Yakry Automatic Cat Feeders- https://amzn.to/3IZjWQ6
Mixology Bartender Kit: 10-Piece Bar Tool Set with Bamboo Stand - https://amzn.to/3IZDjIN TANG Sunshades Depot 13' x13' x13' Sun Shade Sail- https://amzn.to/3qt16Kz Elite Sportz Ring Toss Games for Kids- https://amzn.to/3qxQZnE Café Casa Milk Frother for Coffee- https://amzn.to/3NlthEq POWER PRACTICAL Luminoodle Under Cabinet Lighting- https://amzn.to/3Nh5EwD
0 Comments
Weekly Favs 6/2/23
6/1/2023
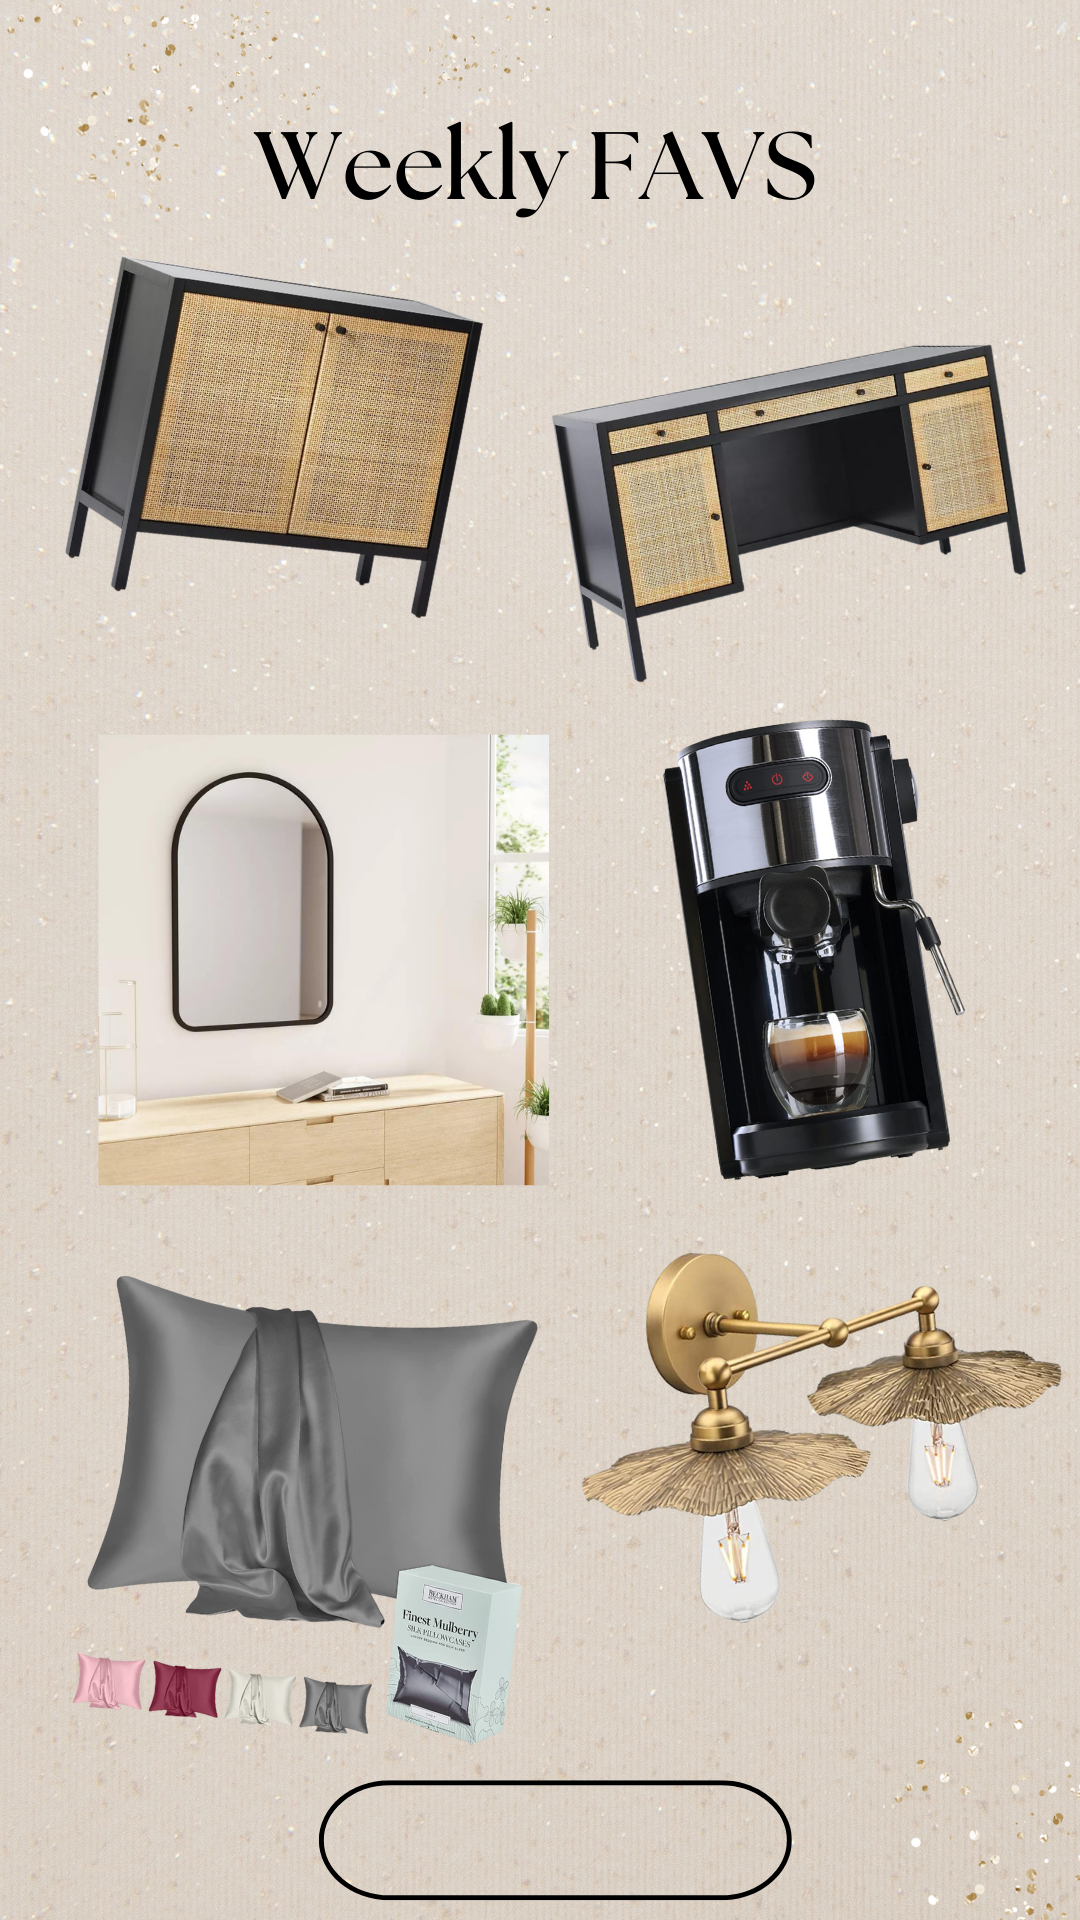 Springville 2 Door Decorative Storage Cabinet Black-
https://go.shopyourlikes.com/pi/fec64fb812af040ac303305b7edf910ed6359cf2?afId=726538&afCreativeId=2996 24" x 36" Hub Arched Decorative Wall Mirror Black- https://go.shopyourlikes.com/pi/032f7747fe5f5b96f66b582b197cd8f77302a173?afId=726538&afCreativeId=2996 Springville Wood Executive Desk with Drawers Black- https://go.shopyourlikes.com/pi/c20912f5a93985c7cbb479e323a5a18028b7b1f0?afId=726538&afCreativeId=2996 Coffee Gator Espresso Machine-https://amzn.to/3IOCqSZ Beckham Hotel Collection Silk Pillowcase for Hair and Skin-https://amzn.to/3OTFXnb Pathson 2 Lights Vintage Metal Wall Sconce- https://amzn.to/3IVEGIf Amazon Favs 5/26/23
5/24/2023
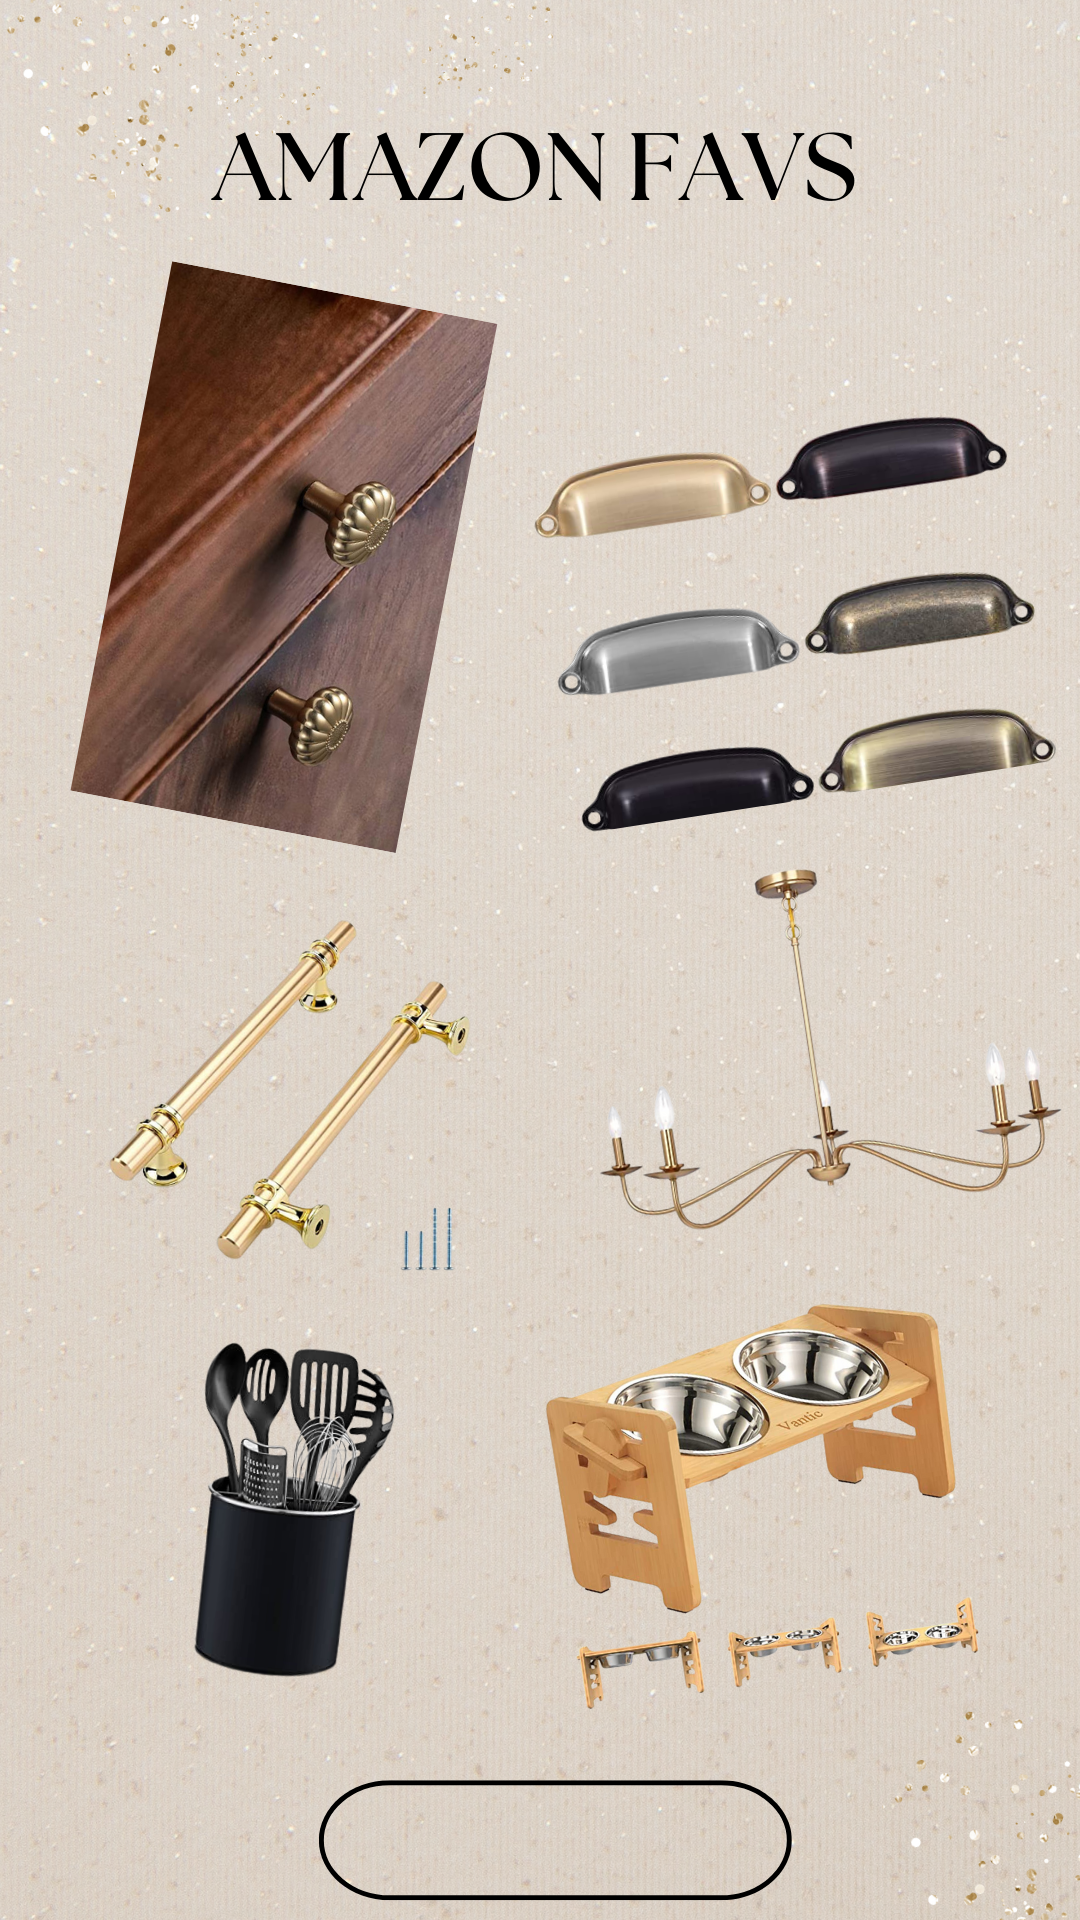 Brushed Gold Cabinet Knobs- https://amzn.to/3IxHMBX
15 Pack 3.78" Drawer Pulls Antique Brass- https://amzn.to/3q5b8kX Leulan Kitchen Cabinet Handles Brushed Brass- https://amzn.to/3MMCvYT Extra-Large Stainless Steel Kitchen Utensil Holder- https://amzn.to/3WpDkLw Vantic Elevated Dog Bowls- https://amzn.to/3q5IGPX Amazon Favs 5/19/23
5/18/2023
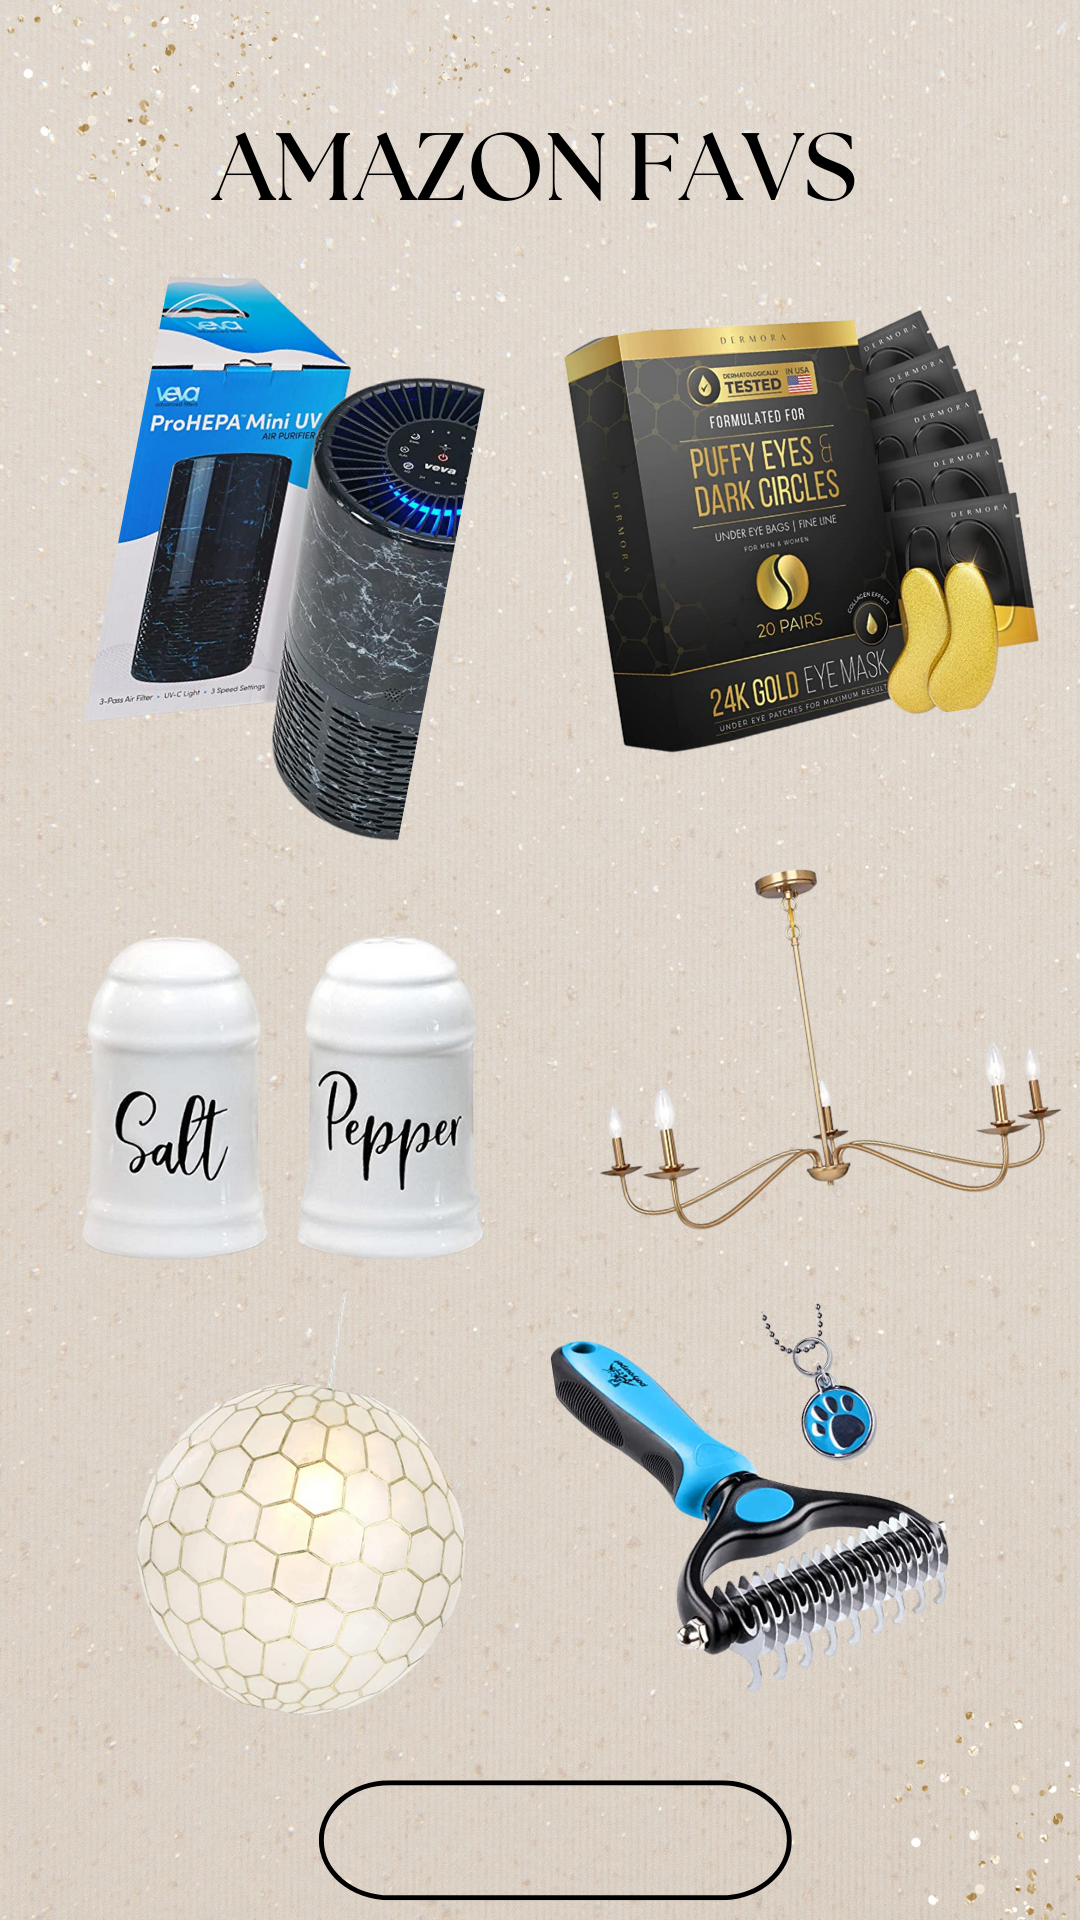 Veva Black Circular Air Purifier- https://amzn.to/3ByMLOR
|