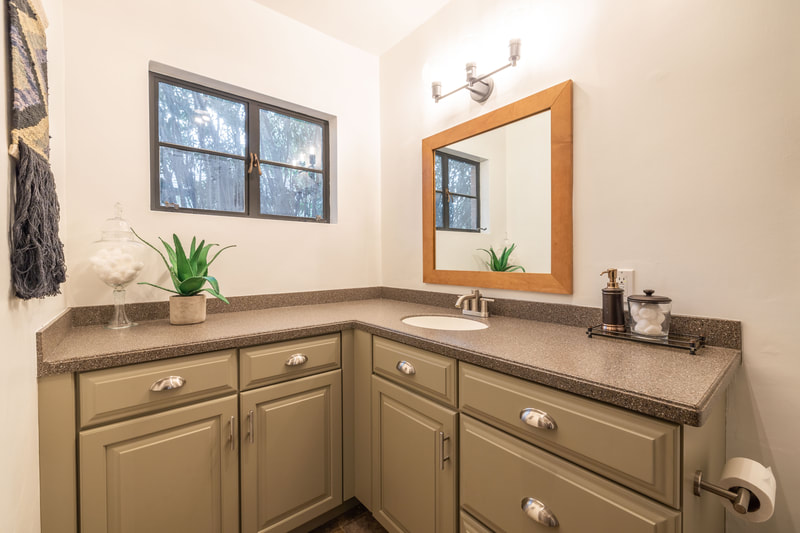
How To Paint Cabinets
9/8/2021
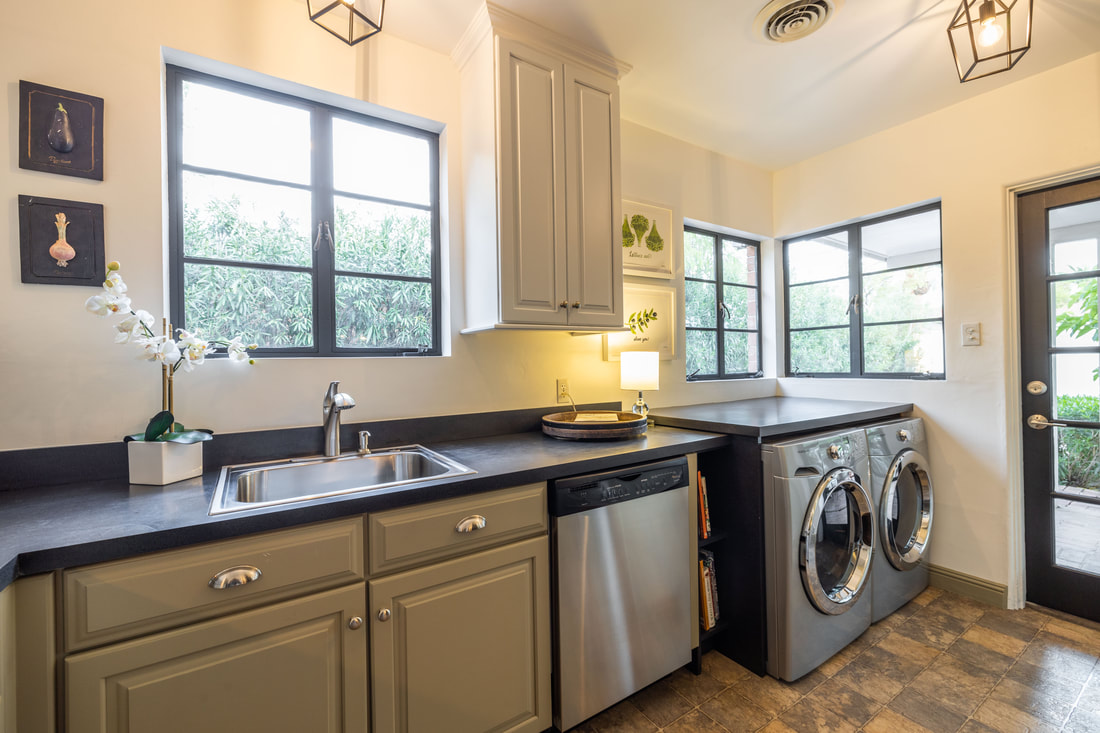
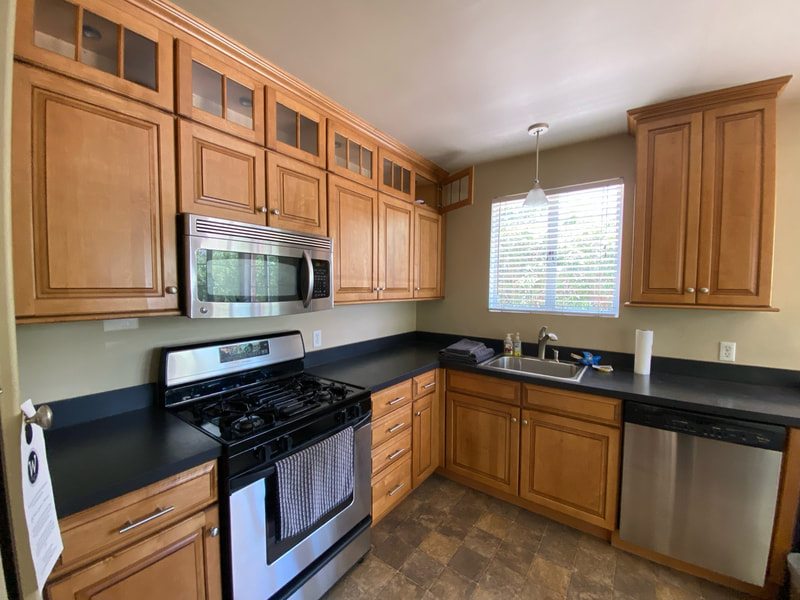
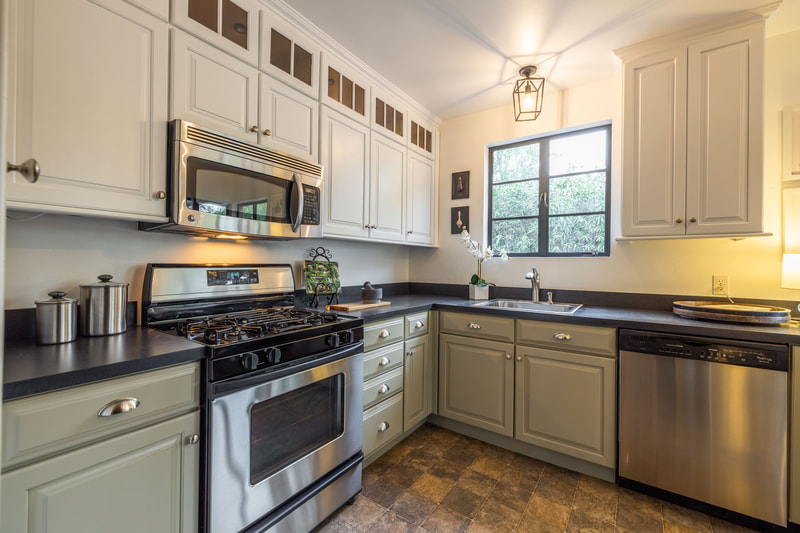
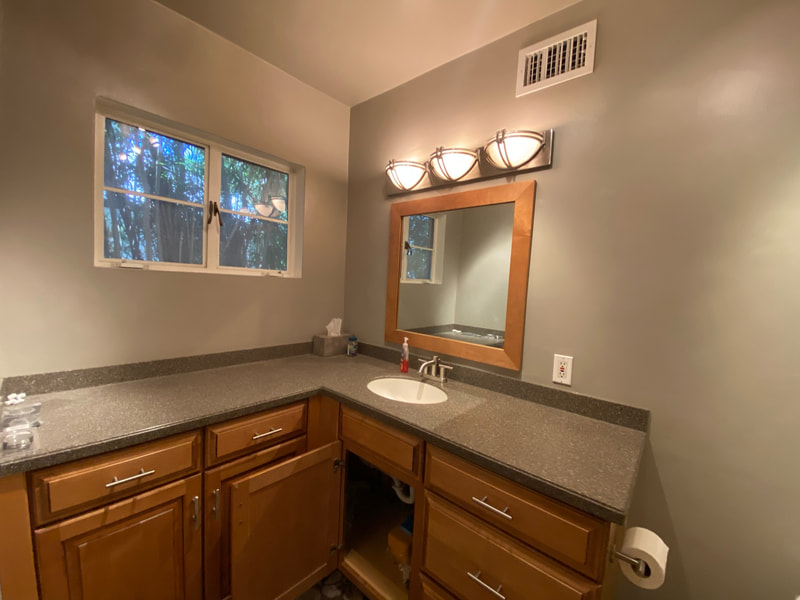
When I featured my last “Design To Sell” home on my Instagram, so many of you asked for a guide on painting cabinets. So, today's blog is all about that! I love painting existing cabinets for two big reasons. It saves waste from going into the landfill, and saves SO much money. I like to use that money for other parts of a project, like beautiful tile and appliances. My hope is that the tips and tricks below will help your cabinet painting experience go as smooth as possible. Tools and Supplies The first thing you need to do before even touching your cabinets is gather all your tools and supplies. The tools needed will vary a little depending if you are going to roll/brush on the paint or use a paint sprayer. I personally like the results of a paint sprayer but there is a bit of a learning curve to getting the hang of using one. If you are going to use rollers and paint brushes, getting the highest quality that falls within your budget is really important. Higher quality brushes don’t shed bristles and allow for the smoothest finish possible. The first time I painted cabinets I used some pretty crappy brushes and had to pick so many bristles out of the wet paint. It was maddening! Purdy is the go to brand for professional painters and the Nylox line gives the smoothest finish. For paint, I love the durability of Behr's Satin Enamel Interior/Exterior paint. If you are painting cabinets that are not solid wood or don’t have a wood veneer, like metal or plastic, I’d recommend talking to your local paint store for suggestions on the best primer and paint for your particular cabinet material. For primer, you can’t go wrong with Kilz. Other items you’ll need include drop cloths, medium and fine grit sandpaper, painters tape, cleaning rags, screwdriver, paint can opener, containers to hold paint, and some kind of cleaning solution. I prefer using TSP. Ok, NOW we can go over how to paint cabinets. Step 1: Prepare Spending the extra time to really make sure your work area is set up and cabinets are ready for paint will ensure you get the best results possible. You’ll want to remove all your cabinet doors and drawers, and remove all the hardware. Could you try painting your cabinets with everything in place? Sure, but it’ll take you twice as long and you won’t like the final results. If you are spraying your cabinets you will also want tape plastic sheeting or paper everywhere you don’t want paint to go! You can see in the two videos below what it looks like with everything taped and protected.
Next, you need to do a really good cleaning of the cabinets to remove any built up residue and dirt. Use whatever cleaner you prefer and give a good scrub to all the doors, drawers and cabinet fronts. Then, lightly sand everything so the primer and paint have a rough surface to adhere to. Don’t forget to take a damp rag and wipe off all the dust that accumulates from sanding. You could also try using a liquid sander/deglosser like this one from Jasco. I don’t have any experience using this but if you’re a fan of the blog 'Chris Loves Julia', you know they swear by it. If you try it out, let me know how it works! If your cabinets have imperfections like scrapes and holes, you’ll want to take the extra step of filling them with wood filler. Otherwise those imperfections will show through the final paint finish. Don’t forget to sand those areas really well once the wood filler dries. Step 2: Prime Priming gets it’s own section because it’s that important! A lot of people skip this step because they think all in one paint (paint and primer) is enough, but it’s not! Cabinets go through a lot of wear and tear so you want the most durable finish possible. Primer allows this by ensuring a really good bond of the paint to the cabinets. Also, primer is really cheap compared to paint. You’re going to save money doing one coat of primer and two coats of paint vs. three to four coats of paint alone. Step 3: Paint Finally, time to paint! You should only have to do two coats if you pick a high quality paint and primed like I told you to. Most paint requires two hours between coats but depending on the temperature and moisture in the air, you may have to wait longer. Read the directions on the paint can for further guidance. To ensure a really smooth and durable finish, you may want to lightly sand between coats of paint with very fine grit sandpaper. This will help cut down on imperfections and ensure good adhesion between coats. Take a dry, soft towel to wipe down everything before applying the second coat. One really helpful thing to do when painting the doors is to do two coats on the backside THEN flip them over to paint the front. I find these little pyramid things really helpful to lay the doors on. There is virtually no surface area for the paint to stick to. A big first time DIY cabinet painter mistake is not giving enough time for the paint to fully dry and cure before putting doors and drawers back in place. If you don't wait, the doors and drawers will stick to the cabinet fronts and lift off the layers of paint. Again, consult the paint can to see how long you need to wait. While waiting for the paint to fully cure you'll also want to avoid cleaning or wiping the cabinets. Step 4: Reassemble
Finally, you can put your cabinets back together! Add some snazzy new knobs or pulls, and your cabinets will look brand new. I love the hardware from Rejuvenation. If you are looking for more budget friendly options, Amazon is a great place to look. I love these brass pulls! If you decide to tackle painting your cabinets I would love to see the before and after pictures! Who knows, maybe I’ll feature them sometime on the blog or Instagram.
1 Comment
Debbie
9/9/2021 11:00:05 pm
Thank you!! This is so helpful and I'm sure took a lot of time to piece together!!
Reply
Leave a Reply. |
|
Proudly powered by Weebly

